

Where To Run Wires From Backup Camera Ford Edge
In this guide, I volition explain how to update your Ford Focus'due south / Kuga's / C-Max'due south / Mondeo'south / S-Max's / Galaxy'due south ECU settings yourself, only like the people at Ford tin can, for less then £ten, using a plan called ELMConfig… If y'all wanted to enable such features equally automatic locking of the doors equally soon every bit you bulldoze away, open up and close your automobile windows from your remote keyfob, Ford would accuse y'all by the hr for activating these on your motorcar, but y'all can now practice this yourself with two simple bits of kit at a fraction of the toll.
Some possible self activated features include (model/twelvemonth dependent):
- Reversing gear sound (Don't know why y'all would need this, the car chimes when put into contrary)
- Auto door locking
- Total Closure (Close & Open windows from your remote key trick)
- Ford Eco Mode (Gimmick application to run into if you can drive smoother)
- Stereo Information inside the dial cluster
- Bluetooth (Phone) data inside the dial cluster
- Gear shift indicator
- Machine Heated windscreen (If the temperature outside is low)
- The full listing outlined at the lesser of the post.
THIS GUIDE IS USED AT YOUR OWN Risk – I WILL NOT Exist HELD RESPONSIBLE FOR Any ISSUES YOU MAY INCUR
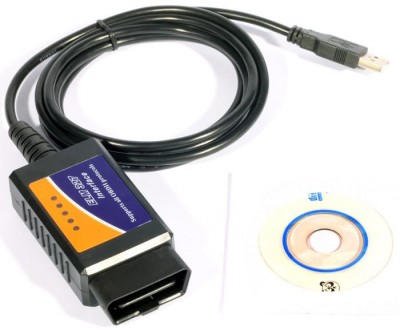
Outset you will need to purchase a ELM 327 OBDII Interface – To become full functionality and to enable all options higher up, you will need to change this device, every bit out of the box, y'all will only be able to edit certain aspects on the Loftier Speed Tin network within the car (Can Hullo).
Yous can now become pre-modified versions of the ELM327 directly from Amazon – These are approved by myself as working with ELMConfig and FoCCCus
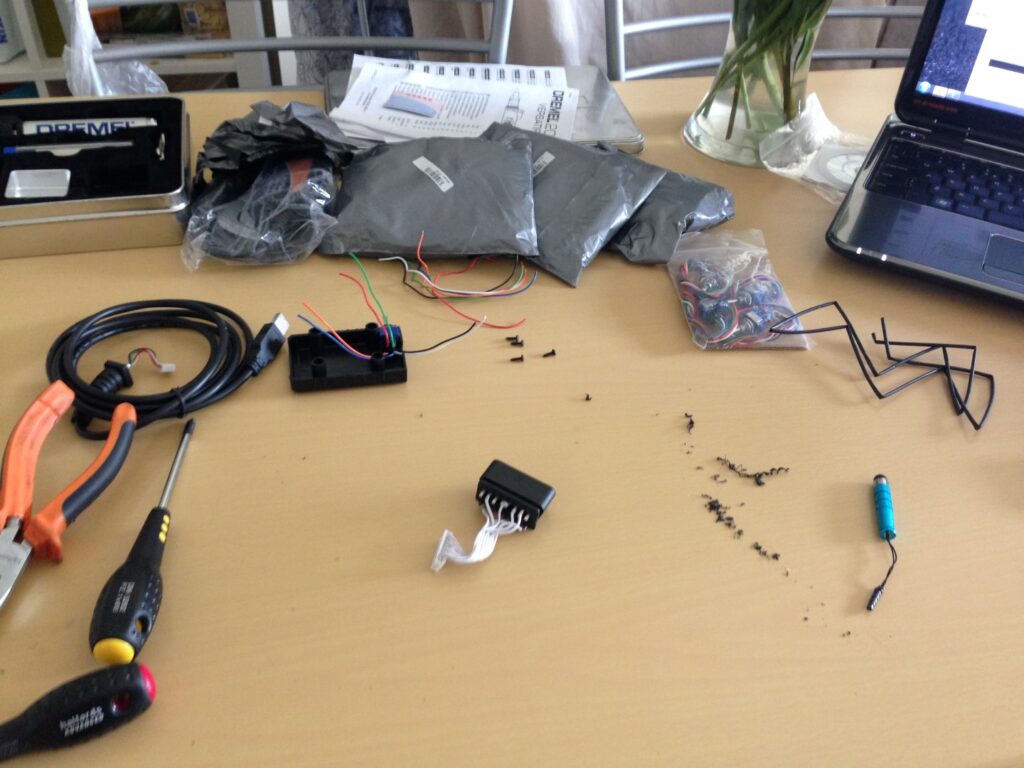
You will need to have the post-obit tools available:
- Soldering Iron
- Wire Cutters / Pliers
- Wire (Different colours if possible – but not important)
- Electrical Tape
- Screw Driver
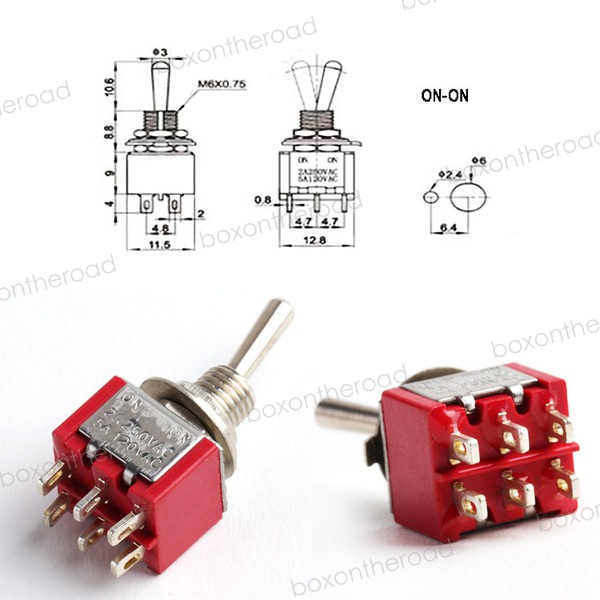
- SMTS (Sub Mini Toggle Switch) – Miniature Toggle Switch ON/ON Dual 3A
As there are two types of network in the new model Fords (as with most other cars), in that location are ii different ways how these connections take to be interpreted. The 2 systems are known as Can-High and CAN-Low (CAN+ CAN-) – this tin can besides be known equally High Speed Can Coach (HS Tin can) and Mid-Speed CAN Bus (MS-Can).
ELM327 Modification
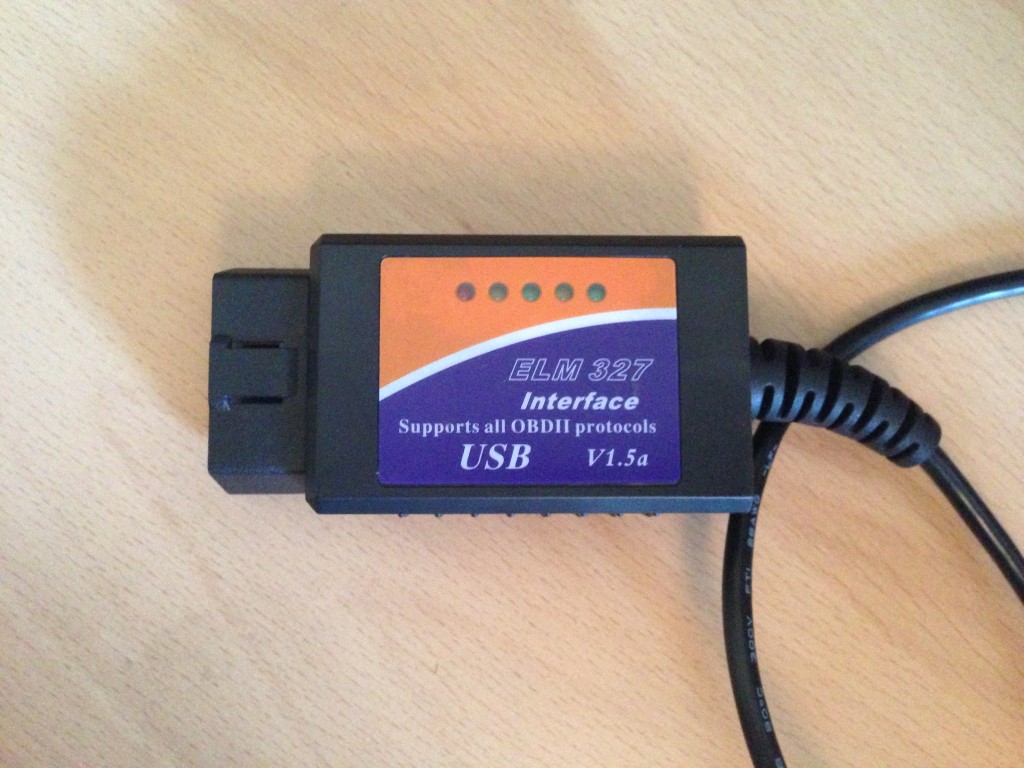
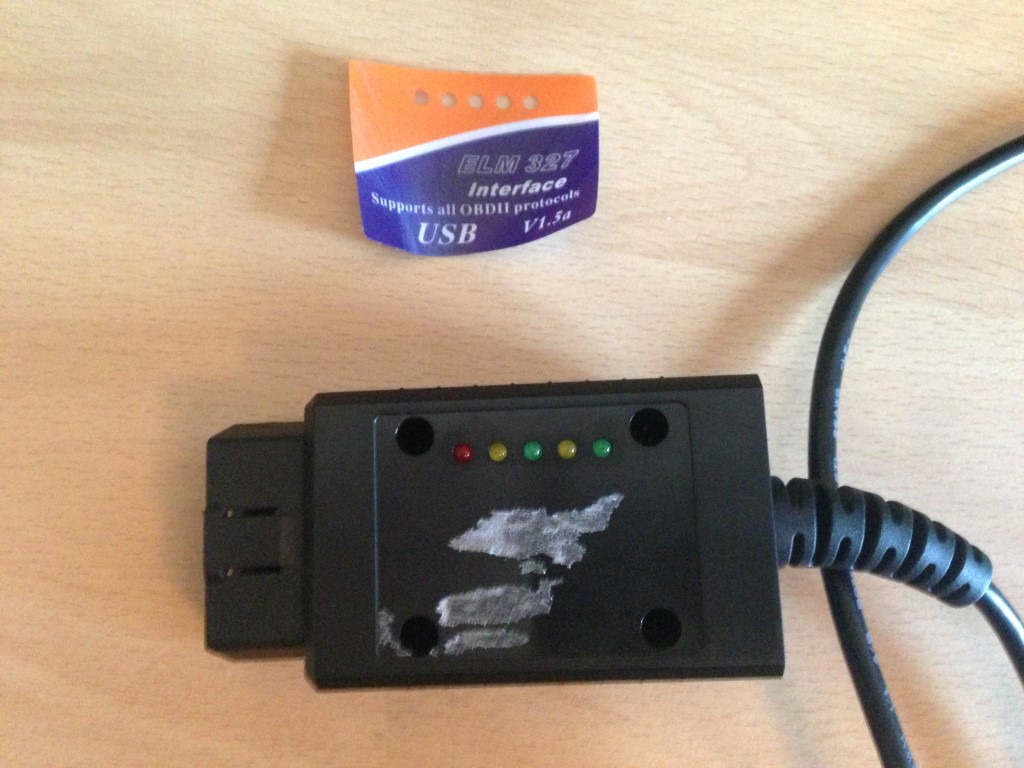
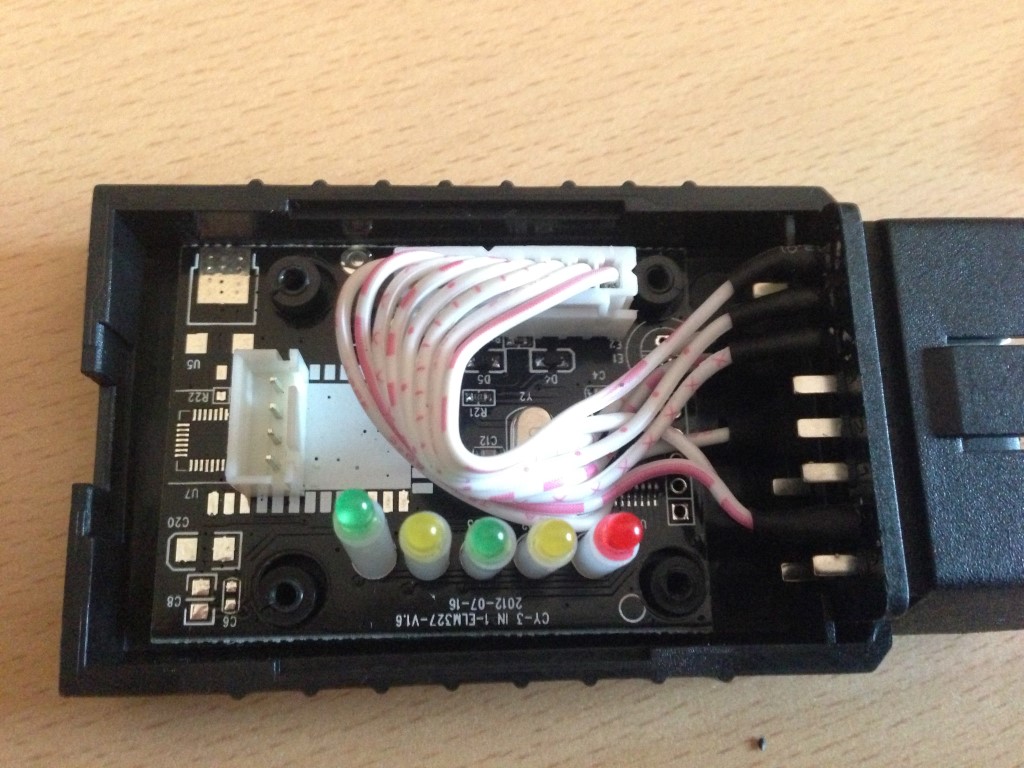
Start peel off the sticker on the front end of the ELM OBD module, to reveal 4 positive head screws
At present the ELM is open, you can remove both white plugs pictured below – this will let us some infinite to work with.
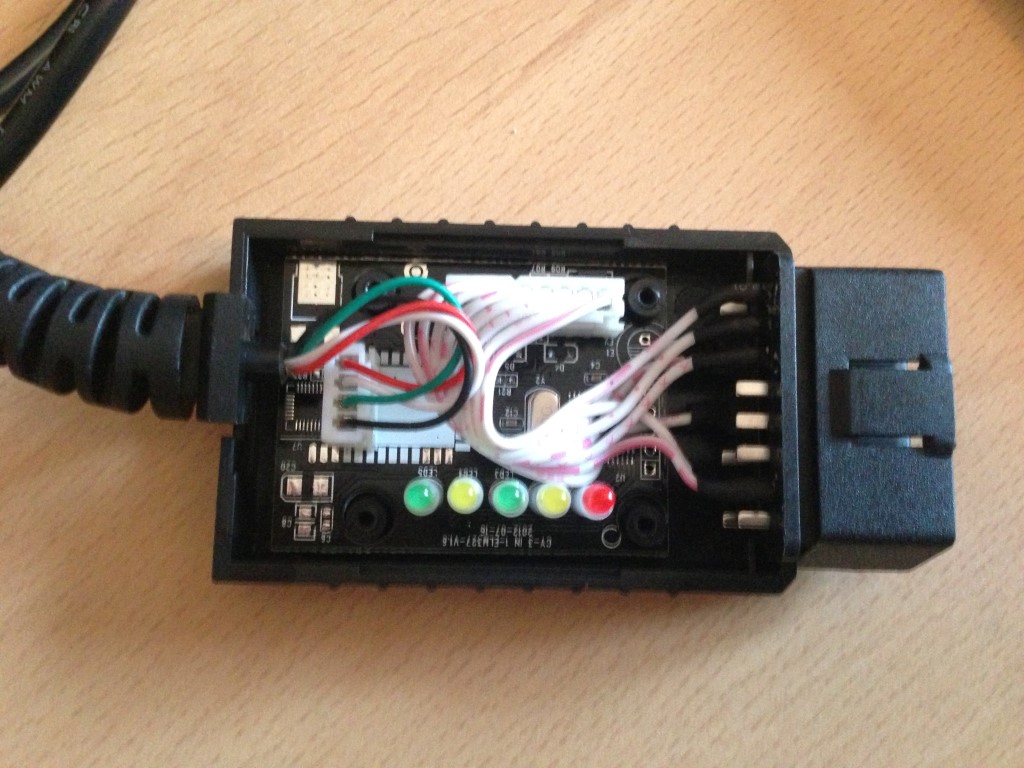
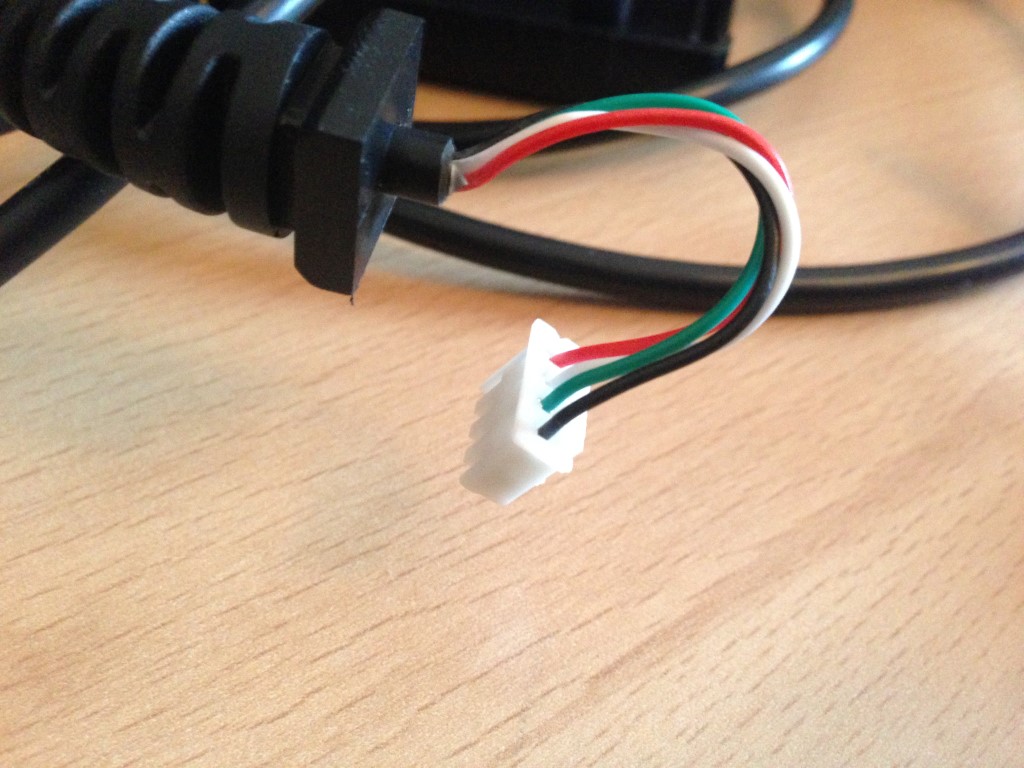
You can also remove the OBD plug by pulling the plug out of the housing, this will allow us to cut the required wires.
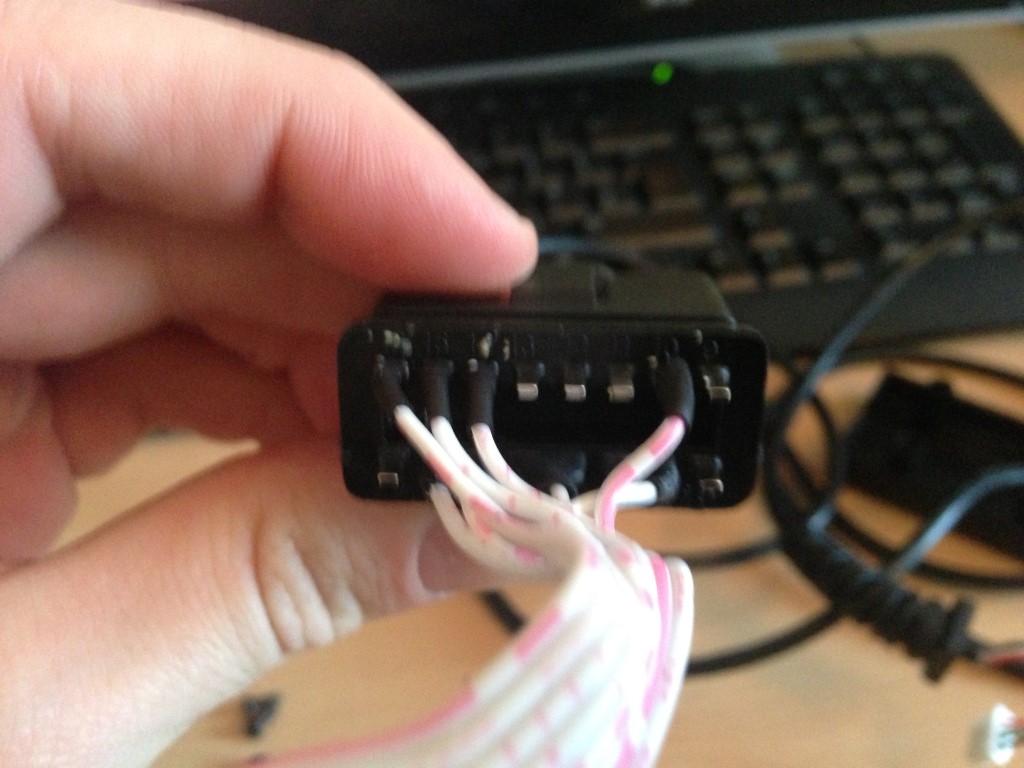
We will be re-wiring the plug as per the wiring diagram beneath:
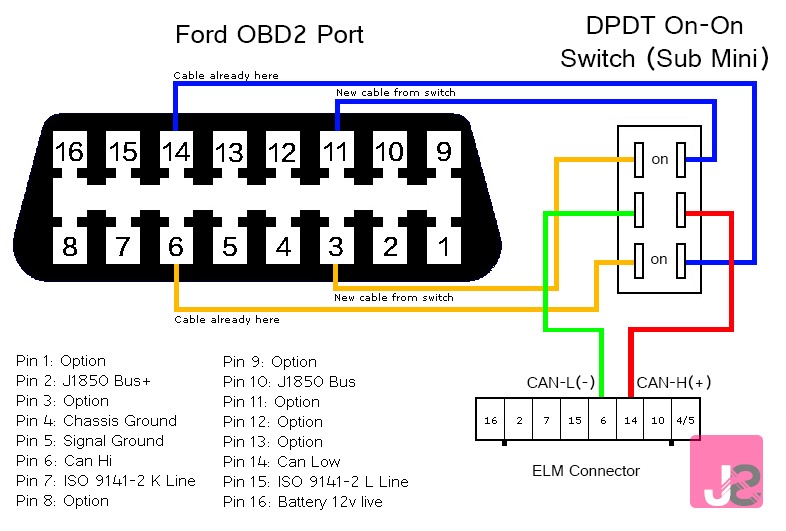
Using the diagram above, you will need to cut half dozen strips of wire (3 amp) around 2 inch long. If y'all take different colours, this can help, if non, make certain you characterization each wire to assistance distinguish between the wires. All the pins are numbered on the OBD port which helps a lot. Shrink wrap all wires, this makes information technology await bang-up, and stops shorts that may happen when putting everything together. And make sure your soldering iron is nice and hot before soldering any joints.
You will need a mini switch which looks similar the post-obit (must have six prongs – on-on switch):
Steps:
- De-solder pin 6 from the OBD port (Brand Sure you label this wire if yous accept not used colour cablevision)
- De-solder pivot 14 from the OBD port (Make certain you characterization this wire if you have not used colour cable)
- Solder pin half dozen (which you just de-soldered) to the heart pin on your switch (middle bottom in diagram)
- Solder pin fourteen (which y'all merely de-soldered) to the other centre pivot on your switch (center top in diagram)
- Solder new wire to pin xiv on the OBD port side
- Solder new pin 14 wire to the right hand side of the switch (summit right in diagram)
- Solder new wire to pin 6 on the OBD port side
- Solder new pin 6 wire to the right mitt side of the switch (bottom right in diagram)
- Solder new wire to pin 11 (should be blank)
- Solder new pin xi wire to the left hand side of the switch (top left in the diagram)
- Solder new wire to pin 3 (should exist blank)
- Solder new pin 3 wire to the left paw side of the switch (bottom left in the diagram)
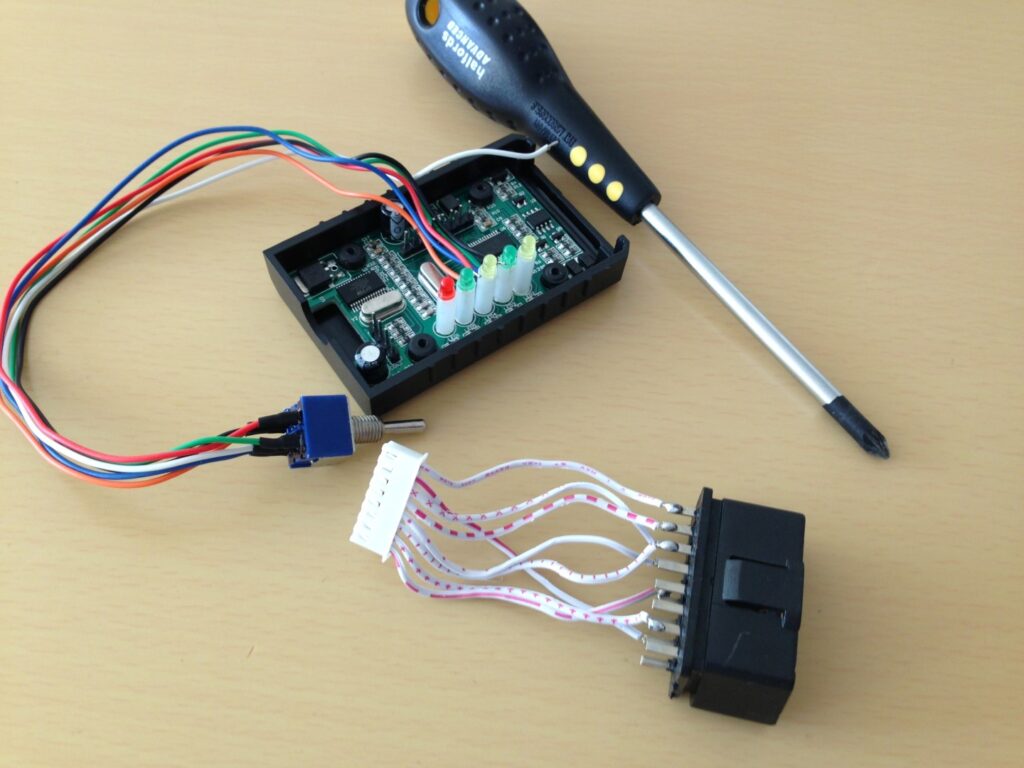
This should complete the wiring modification. Now drill a pigsty into the plastic moulding (as I have done in my flick beneath)
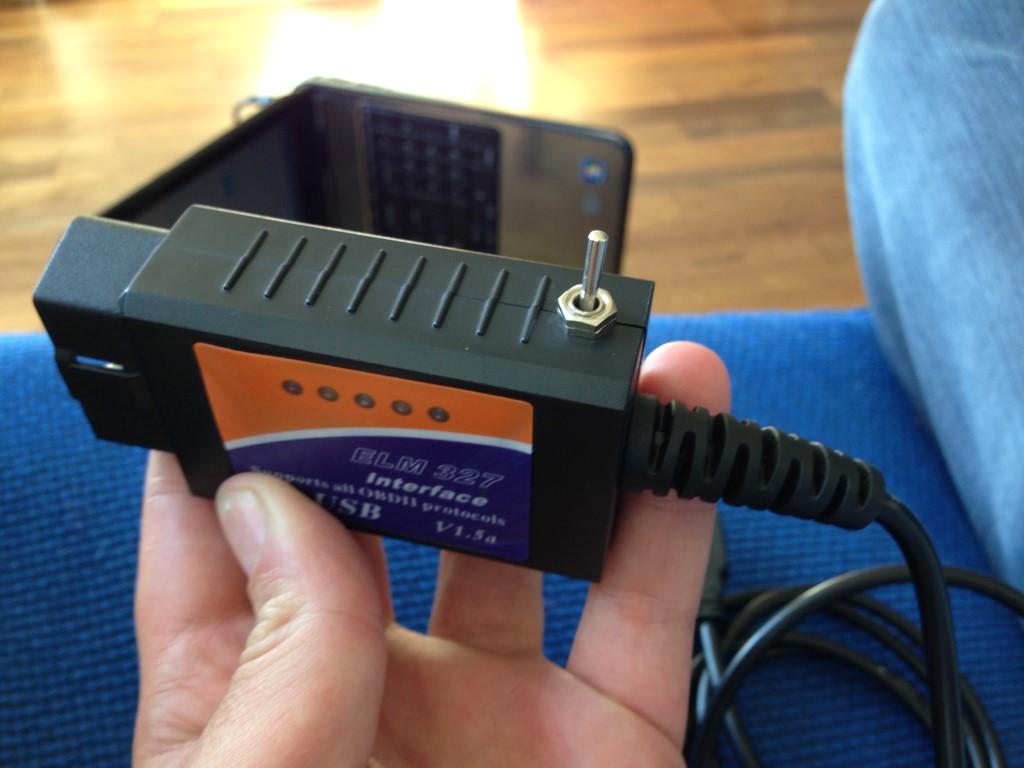
Put everything back together, and you lot should have a fully operation OBD reader/writer which you can apply with the following program (ELMConfig).
ELMConfig
At present you lot need the program: ELMConfig:
-
ELM Config Download V0.two.6 (Local Download) -
ELM Config Downland V0.ii.8 (Local Download) – Released tenth June 2013 - ELMConfig Download V0.2.10 (Local Download) – Released 13th August 2013
As well available from the programmer's website: https://civil.iffc.ru/ELMConfig/
If you get "Missing ******.ocx" errors when opening the plan, you lot tin download the DLL Files that will resolve these problems. You will need to download the Runtime Pack installer and let it run (Local Download)
This program (EMLConfig) will allow you to modify ECU features, to activate or de-actuate options which were only accessible by putting your car into the local Ford dealership.
Now this can be a very dangerous tool, and then use this with care – make certain you make a backup of each of the settings before you write to your ECU. I will explain how this is done further into the guide.
When you lot open ELMConfig, you will be presented with the post-obit screen:
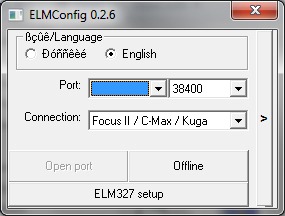
Showtime select "English" if its set to Russian, then plug your ELM cable into your laptop, then select the COM Port it has continued within the PC. Get out the speed prepare to 38400, so select your vehicle from the connectedness type. I take a Ford Focus ST MK2 (Focus Two), so I will be using this to explicate how this is used.
Printing the "Open Port" button, and the ELM volition connect to your car.
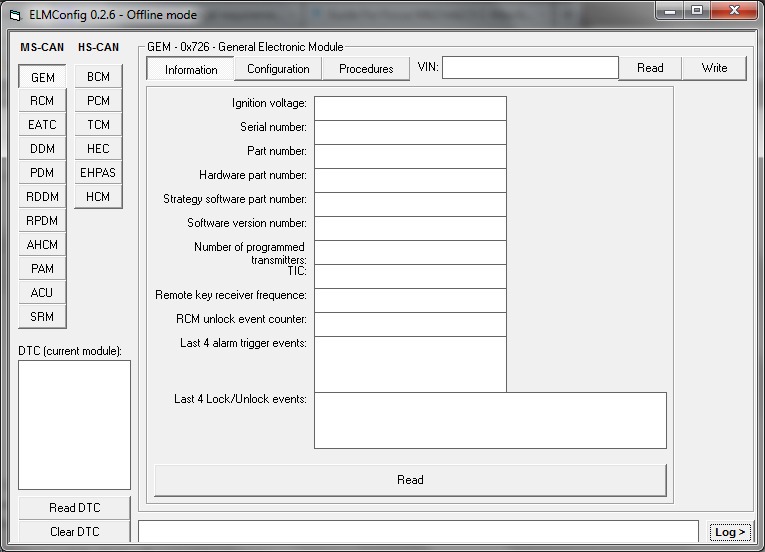
This is the main screen of ELMConfig – Forth the left hand side is the main module navigation, with the Depression Tin can & Loftier CAN modules. Below this, yous tin read the mistake codes within each module, and also clear the codes to forestall the warning lights showing.
Equally yous click through each of the modules in ELMConfig, you volition see the information tab, clicking the read push on each of these screens will read information from the cars ECU modules and display the information.
The configuration can be changed within the "Configuration" screens, but earlier you make whatever changes, make certain you click the "Read From ____" push button, then printing the "Relieve" button, which will back up the standard settings, allowing you to revet back to these if y'all somehow manage to mess things up.
The current configurable settings I accept a grasp of are as follows:
General Electrical Module (GEM)
Configuration Folio 1 allows you to configure timing – These functions will need to exist enabled/disabled in other screens
- Headlight Washing Time (0.01-two.55 sec)
- 3 Flash Indicator Activation Time (0.05-12.75 sec) – How long you lot hold the indicator down for until three flash is de-activated
- Delay fourth dimension to turn off "Get Home Safe Lights" (1-255 sec)
- Delay time to turn off Courtesy (interior) lighting (1-255 sec)
- Delay time for "Theatre"/Courtesy (interior) lighting fade from/to (0.01-2.55 sec) – Make the fade longer or shorter
- Battery Saver function – how long to keep interior lights on for without ignition (one-255 sec)
- Delay before auto re-locking is agile once again (ane-255 sec) – Using the key to open the doors and no one enters, the car volition re-lock its self after stated seconds
- Auto lock car one time vehicle is greater then X km/h (ane-255)
Configuration Page 2
- Indicator 3 Flash Mode (Enable/Disable)
- Autolocking (Enabled/Disabled) -Ifallowedthiswill exist checked
- Autolocking enabled by customer (if above enabled, and you would like the automobile to lock equally before long as you drive, check this)
- Autolocking with Re-Autolocking (if someone gets out the automobile, and you drive again, the doors will car re-lock)
- Double Locking / Dead Locking (Enabled/Disabled) -Ifallowedthiswill exist checked
- Double Lock (Expressionless Lock) with 1 Remote Printing – Will expressionless lock the car with one printing of the remote lock central (instead of pressing the lock push twice to dead lock the car)
- Drivers Door Unlocking with i printing of the remote unlock button (Enabled/Disabled)
- Heated Windows Auto Switch On (Will automatically come on when cold outside upon ignition)
- Windows Global Opening (Enable/Disable) – Windows will open when belongings downwards keyfob open up push button
- Windows Global Closing (Enabled/Disabled) – Windows will shut when holding downwards keyfob lock push
- Windows Global Stop (Enabled/Disabled) – Windows volition stop when keyfob button pressed
Configuration Page 3
- Heated Front Windscreen (Enabled/Disabled) – Not sure why you would disable this
- Headlight washer jet (Enabled/Disabled)
- Car Wipers (Enabled/Disabled) – Only if you have a rain sensor fitted
- Rear Wiper Present (Checked/Unchecked)
- Reverse Rear Wiper Characteristic (Enabled/Disabled)
- Reverse Rear Wiper Initial Wipe (Enabled/Disabled) – If automobile wipers enabled, and motorcar is put into reverse, rear window wiper will wipe (if pelting is detected)
- Global Opening/Closing Only Afterward Keyfob button released (Enabled/Disabled)
- Auto-Relocking to last lock state (Enabled/Disabled) – If key is accidental pressed and no i enters the vehicle, the auto-relocking function will lock automobile dorsum to how yous locked it previously
Restraint Command Module (RCM)
- Seatbelt warning light (on/off)
- Seatbelt warning sound (on/off)
- Passenger air bag deactivation switch fitted (enabled/disabled)
- Passenger airbag deactivation indicator light fitted (enabled/disabled)
Hybrid Electric Cluster (HEC)
- Shift light (6500 rpm)
- Overspeed alert audio (km/h)
- Reverse alert audio (on/off) – Why?!
The post-obit additional options on summit of standard options can be added to the centre screen. They can also exist removed again, equally can standard options already present if you wish, such every bit Clock:
- ESP checkbox & condition
- Voice control
- Fuel cap sensor (if fitted??)
- Radio info
- Telephone info
- Measure Unit carte
- Eco shift upward
- Eco Way
I will try and keep this updated as much every bit possible, and when I detect new releases, I will host them on here also. So that is a basic overview of ELMConfig, it looks like an extensive application, and I will be playing effectually with this some more. More than data tin can be establish in the following thread on Focus Owners Order.
Source: https://www.jamessimpson.co.uk/elmconfig-enable-ford-ecu-functions/
Posted by: chalfantretticuld.blogspot.com
0 Response to "Where To Run Wires From Backup Camera Ford Edge"
Post a Comment